HowTo install rmagick gem on Windows » History » Revision 7
« Previous |
Revision 7/10
(diff)
| Next »
Dmitry Popov, 2015-03-03 13:07
HowTo install rmagick gem on Windows
- Table of contents
- HowTo install rmagick gem on Windows
Prerequisite
You need to have the DevKit installed.
Installation of ImageMagick
Download last setup package from http://www.imagemagick.org/script/binary-releases.php#windows and run it.
However, according to RMagick wiki, the last known version to work is 6.7.9.9. Legacy binary versions are available at ftp://ftp.sunet.se/pub/multimedia/graphics/ImageMagick/binaries/.
In the Select Additional Tasks page of the wizard, make sure that both Add application directory to your system path and Install development headers and libraries for C and C++ options are checked:

Note: Both the ImageMagick application directory and the Windows System32 directory contain an executable named "convert.exe". Unless ImageMagick's directory is added the front of the system path, its copy will not be found. This will cause the test suggested at the completion of the installation to fail with a message "Invalid Drive Specification". Also note that Window's copy of "convert.exe" will not be found, if ImageMagick is placed first in the path.
Installation of the rmagick gem
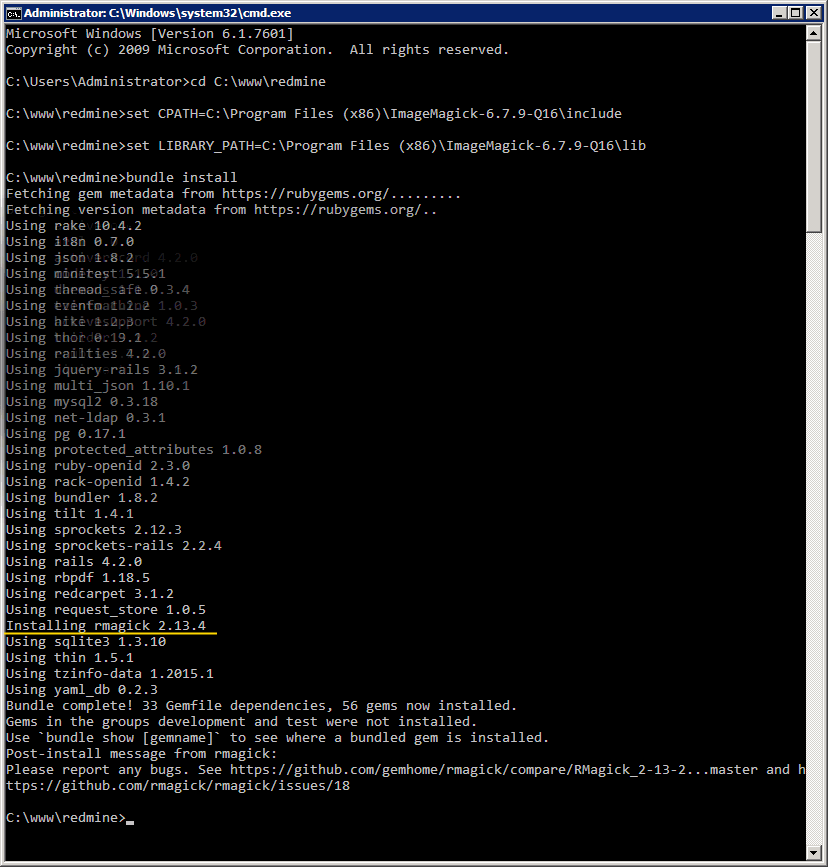
- Open a new command prompt
- Change current directory to the Redmine installation directory
- Set
CPATHandLIBRARY_PATHenvironment variables to point respectively toImageMagickinstallation directoryincludeandlibsubdirectories (so the DevKit will find them at build time)
set CPATH=C:\Program Files (x86)\ImageMagick-6.7.9-Q16\include
set LIBRARY_PATH=C:\Program Files (x86)\ImageMagick-6.7.9-Q16\lib
- Actually install the gem, e.g. with
gem install rmagickorbundle install --without=development test, etc.

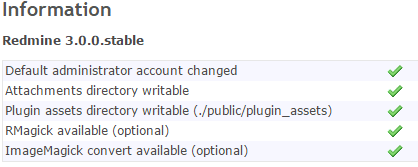
Result
Check if the installation was successful on the Information page.

Updated by Dmitry Popov almost 11 years ago · 7 revisions